Install Visual Studio 2017 and Learn Basic C#
Spread the love
Learn Basic C# using Visual Studio 2017
This Post is to help show the steps of installing Visual Studio 2017 community version, and building your first WPF application in ASP.NET C#. These are some basics to learning C#.
The first step is to go to https://www.visualstudio.com/downloads and download VS 17.
Click the Download button, and run once it has installed.
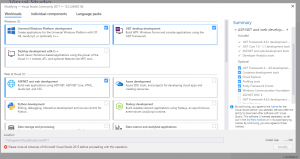
When the VS installer loads select the packages you want. For our Install we selected.
- Universal Windows Platform development
- .Net desktop Development
- Asp.Net and Web development
Install may take awhile and may require a reboot.
Once you have VS 2017 Installed.
- Open VS
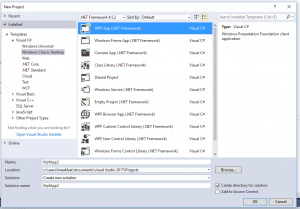
- File -> New -> Project ->Windows Classic Desktop -> WPF App (.NET Framework)
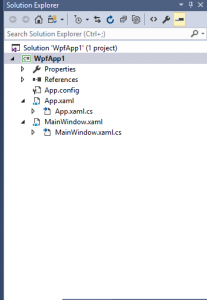
- click MainWindow.xaml
- Add a Textbox and a TextBlock to MainWindow.
- Name the TextBox txtbox1 and the textBlock txtBlock1
- Add a Btn to MainWindow
- name Btn1
- Add a Textbox and a TextBlock to MainWindow.
- Add following code to your MainWindow.xaml.cs (Inside the namespace “YourProjectName” curly brackets (‘{‘))
public partial class MainWindow : Window

{

public MainWindow()

{

InitializeComponent();
}
{
//Update teh Txt block to equal the txtbox text.
txtBlock1.Text = txtBox1.Text;
}
{
//Call update txt box when btn is pressed.Visual Studio Solution Explorer - updateTxtBoxText();
}
} - Click Run Debug and watch the result.
